I bought my first 3D printer. And I regret not getting it earlier.


I had a few days off and was working on a customised tablet based on a Raspberry Pi 3 with an official 7 inch touchscreen display (it’s highly probable I will create a blog post about it). The only part that I was missing in the end was a proper plastic case for it, to hold everything in place.
I started browsing web stores in order to find my desired case. I found a few that were okay, but I didn’t fully like them. As a true creator, I decided to do it my way.
As Covid-19 started for good, I experienced for myself how difficult it was to get something delivered from China. The predicted delivery time was more than a month, and I needed my printer here and then. Well, I had to accept the reality, ordered my printer and waited for a long month to pass.
I opened a very well packed box containing all the parts. It was at that moment that I knew it would not take me 15 minutes to assemble the printer, as claimed by the seller.
I took a tiny manufacturer manual into my hands and started solving the puzzle. Step by step I was painfully trying to build a printer out of the parts provided. The instructions were quite clear, but without any detailed explanation.
After I paused on one of the steps for a few minutes, I thought to myself – there must be a youtube video with assembly instructions. And indeed there was. I threw away the manual, disassembled a few parts and started following the video instructions instead. Finally, I knew what I was doing and why.
After some time I had a completely assembled printer, but it was not fully operational. An important last step you need to do is to precisely level the printer bed. In order to achieve this, I used a trick with a piece of paper, so it can barely move between the printer bed and it’s nozzle.
Without hesitation, I went to Thingverse and looked for a ship by 3DBenchy. Here is the fantastic result, which I was really amazed with:
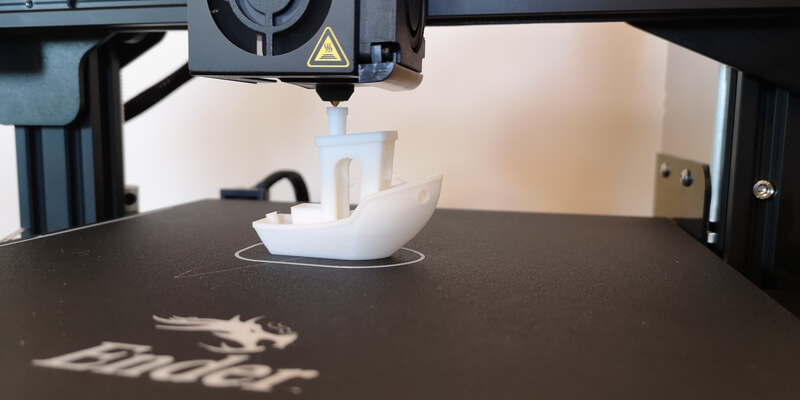
As a beginner, the most important settings for your prints you must keep in mind are the nozzle and the bed temperature, the printing speed and the layer height. There are of course a lot more settings you can customize, but those four are the most essential ones in my opinion.
As a printing material I use a PLA filament, so in order to choose the correct nozzle temperature, I printed something called a temperature tower:
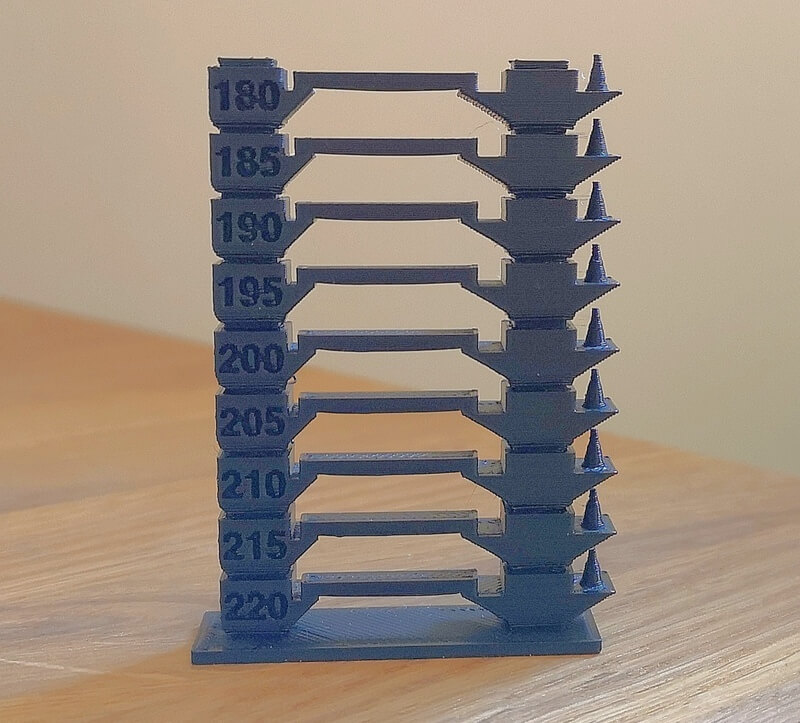
Each layer was printed with a different temperature, varying from 180°C to 220°C. As you can see, the differences between them are not that apparent, which is an evidence of a great filament quality. Objects printed in a higher temperature are less detailed, but stronger. So you have to find the sweet spot based on what you would like to print, whether it should look good or withstand more.
You can always browse sites like Thingverse in search for the models, but the time will finally come, when you might need to create your own 3D models.
For that, I really love FreeCAD, which is a great piece of software for 3D modelling. As its name suggests, it’s free, but it doesn’t lack any essential features, especially for beginners.
Downloading or creating a 3D model is unfortunately not enough, as you can’t just pass an STL file to the printer. You need a software that will cut a model into layers and tell the printer exactly what to do. The software I’m using is Ultimaker Cura, in which you can specify various printing options and preview how each layer will be printed.
I needed to change oil in my car, but was missing the tool to remove an oil filter cap. Well, here is my 3D printed oil filter cap wrench:
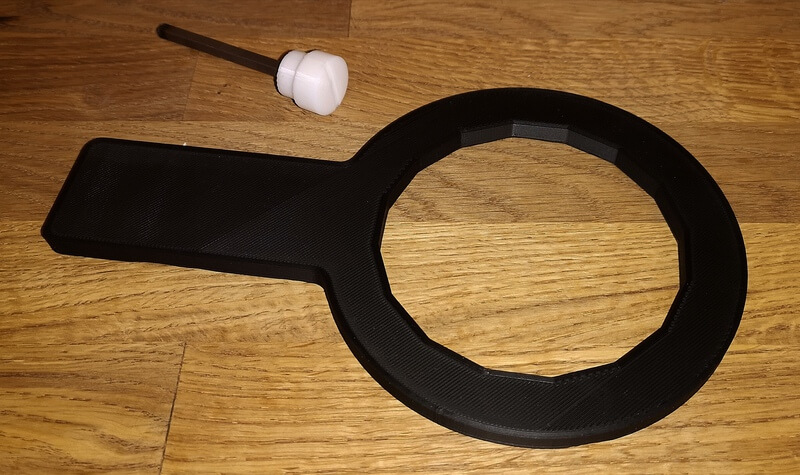
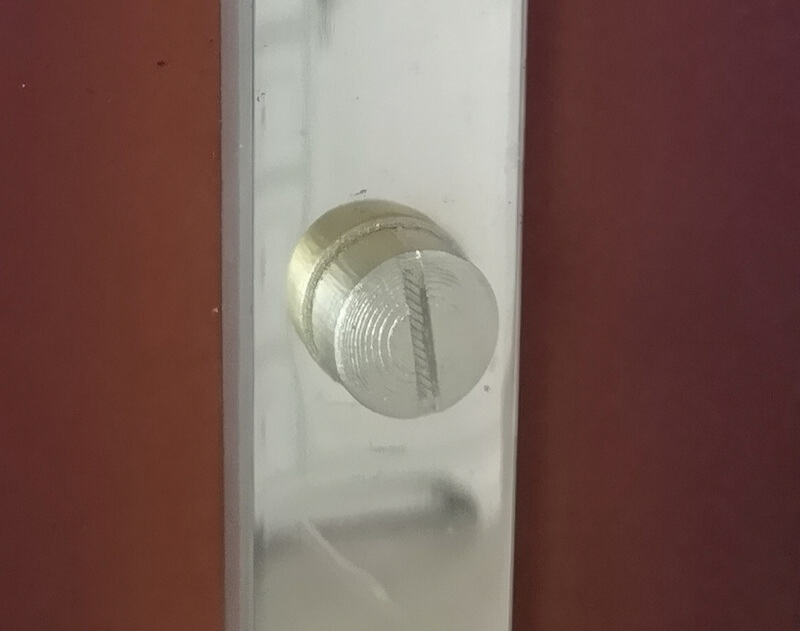
The second, white object in the picture above, is an outer end of a bathroom door lock, that I was missing for some time. Here is how it looks after I painted and installed it in place:
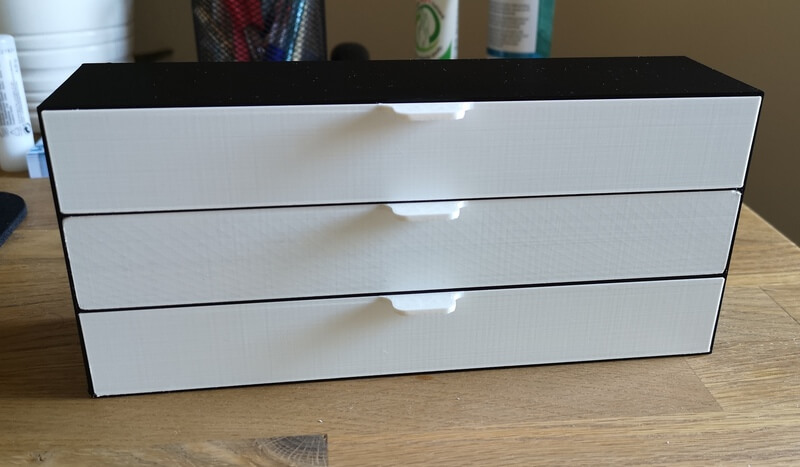
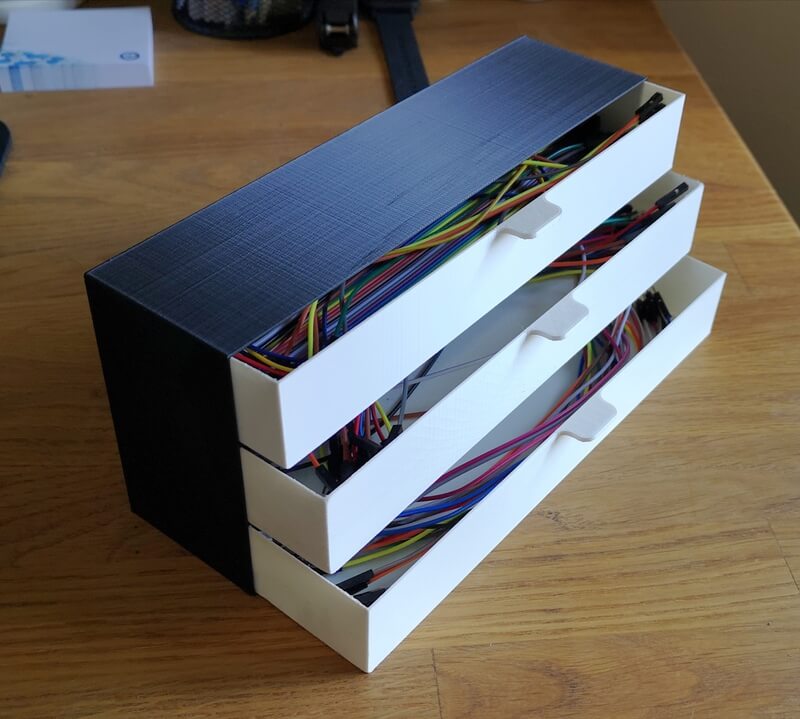
I was always struggling with finding the correct cable in a box containing tangled wires. I printed myself a beautiful cable cabinet, which is a perfect solution to my problem:
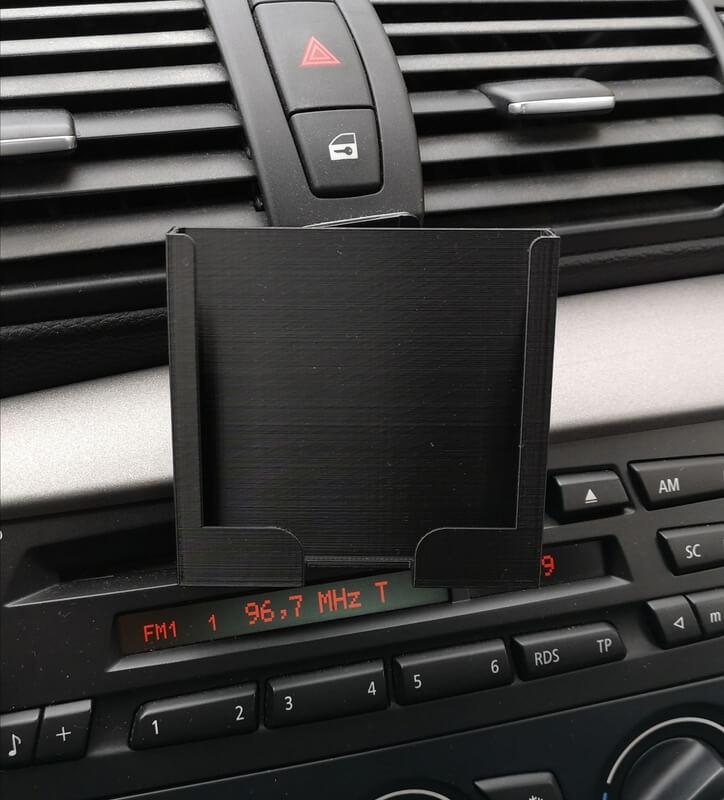
One more thing I printed was a car phone holder, in which my phone fits perfectly:
As you can see, your imagination is the only limit. I guarantee you that getting a 3D printer will bring you a lot of fun and make you really proud of yourself once your first crafted 3D model appears in your hands.
Photo by nikitozawr on Pixabay